Illustration Tutorial: How to Add Embroidered Details to Your Paintings

Learn step-by-step from Josefina Jiménez how to add embroidered details to your acrylic floral paintings
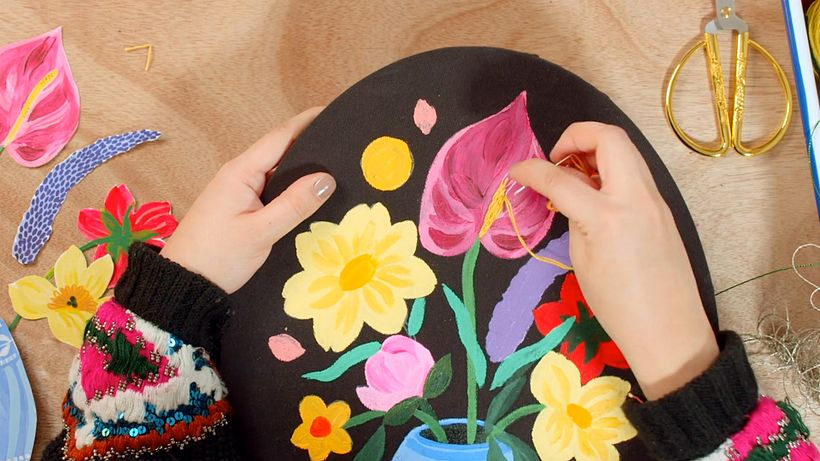
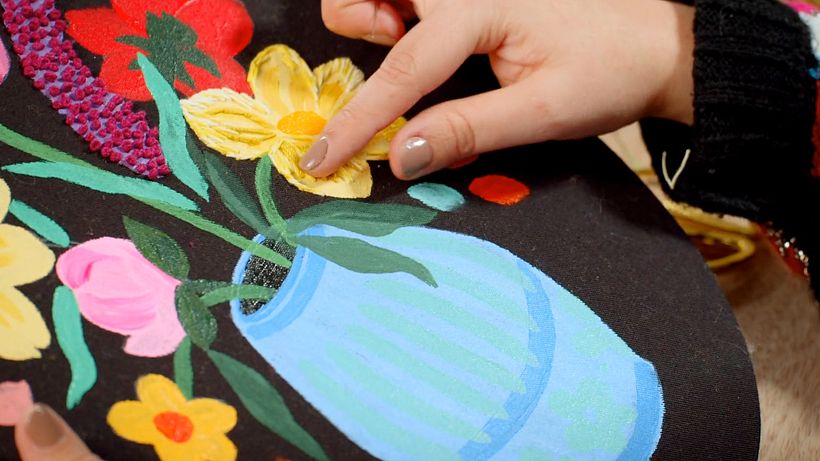
Beautiful floral illustrations are a great way to fill any environment with color and warmth. And if a floral painting is enriched with embroidered details, it comes to life even more. That’s why visual artist Josefina Jiménez often mixes techniques, such as watercolor, acrylic, and embroidery, to enhance the details of her compositions.
In this tutorial, she teaches us how to make different types of stitches to achieve a variety of textures across different plants and flowers. Find out more in the video:
5 steps for adding embroidery to your artwork
Materials you'll need
- A sharp upholstery needle
- Threads in various colors
- Scissors
- And of course, your painted piece
1. Plan and prepare the area you will embroider
Use a marker to mark the areas that you will embroider and think about the color thread you’ll use to highlight these details. To create a thicker embroidery effect, which will be the most visible and create the greatest contrast against your painted surface, create a double strand of thread by looping the thread through your needle and joining it with a knot. To avoid tangles and to make embroidering easier, the knotted thread should be no longer than the length of your forearm.

2. Simple stitches allow more control
By not spacing out your stitches too much, you’ll have better control over the direction of your embroidery. As you advance, you can begin gradually expanding them. Try to use cross-stitch, which will generate a more homogeneous effect.

3. Use the French knot technique to create "dots"
To do this, bring your needle up, wrap your thread around it, and then bring it down in the same place. The more thread you wrap around your needle, the larger the French knot you create.

This dotted effect is excellent for when you want to embellish an area of your painting without covering its surface entirely.

4. Use gradient thread for a multi-color effect
Gradient or multi-color threads are those that have at least two colors. To spread the multi-color effect over a wider area, work from the outside inwards, starting with longer stitches and then gradually reducing them, reversing direction.

5. Uses your stitches to recreate natural curves
To create a curved effect, use longer stitches to start and then gradually taper them down. To create a smoother line, you can then weave your threaded needle underneath these stitches.

Did you enjoy this tutorial? If you’d like to learn more about how to use paint and embroidery to create beautiful and unique compositions, don’t forget to check out Josefina Jiménez’s online course, 'Flower Composition with Acrylic Paint and Embroidery'.
You may also be interested in:
- Embroidery and Watercolor Basic Techniques, a course by Katy Biele
- Experimental Embroidery Techniques on Paper, a course by Gimena Romero
- Fashion Design: Painting and Embroidering Garments, a course by Ana María Restrepo


1 comment
maurabarendregtsoliman
Thank you Josefina, I really enjoyed this video. It opened my eyes to a whole new way of creating with embroidery.